I made a mold for injection molding Makey Robot spinning tops a few weeks ago. The tops are designed to be giveaway items at Maker Faire Milwaukee...
Always Working on Something


I made a mold for injection molding Makey Robot spinning tops a few weeks ago. The tops are designed to be giveaway items at Maker Faire Milwaukee...
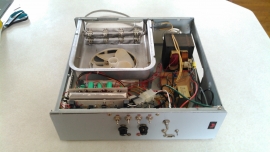
I made the majority of this homemade EDM a long time ago. Recently I have been finishing this project by making a better structure for the linear...

In the past week I have updated ScorchCAD a couple of times. The first update helped verify that the autocomplete function in the ScorchCAD Editor...
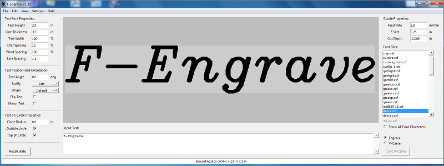
F-Engrave v1.56 is out with some bug fixes and better line/arc fitting. There was a huge bug in the old curve fitting which caused the "M" in...

I made a quick little 3D printable fixture to aid in the construction of stick bombs. The type of bomb this fixture makes is my favorite. If the...
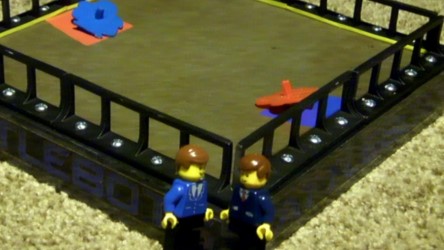
My two boys love having a 3D printer in the house. I have made a variety of items for them. My 9 year old, Derek, came up with a great little...
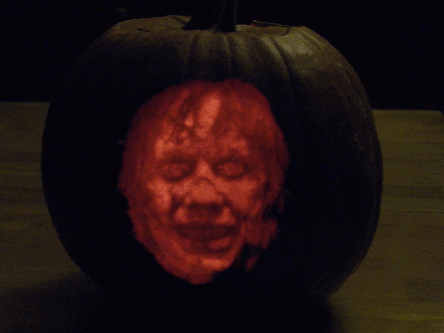
Halloween is approaching so I thought I would share the Jack-o-lantern that I made for Halloween last year (2014). I carved an image, lithophane...
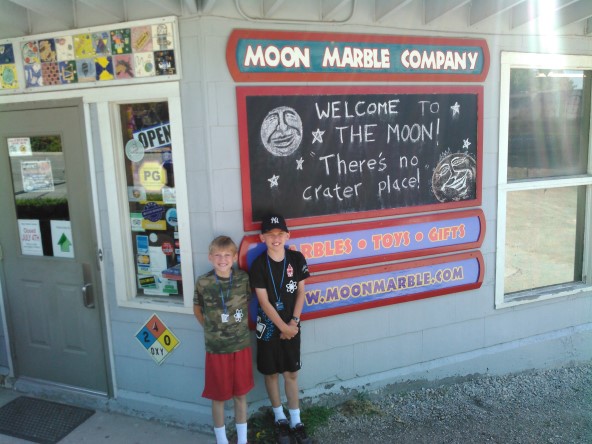
This year I took my two boys to the Kansas City Maker Faire for the second year in a row. We once again had a great time. This year we attended...
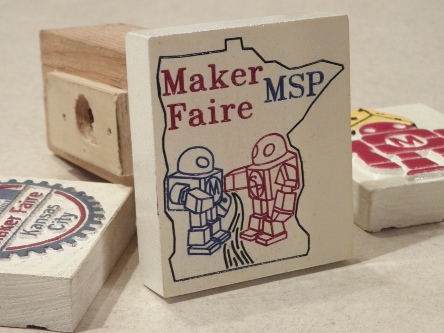
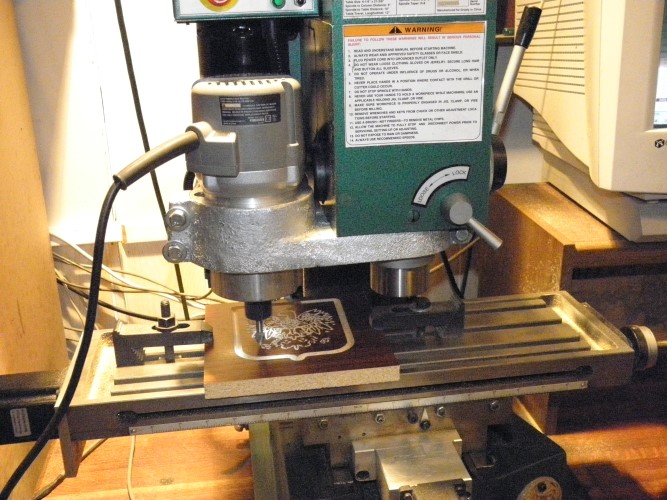
We are continuing the tradition of custom Maker Faire hitch covers for our Maker Faire road trips. Since the Minneapolis St. Paul Mini Maker...
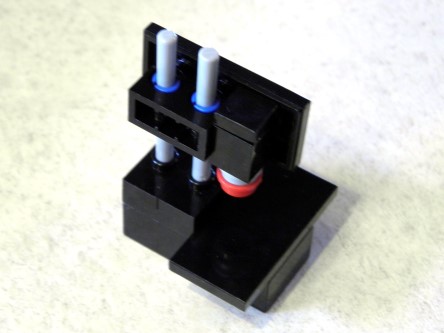
I find myself doing CNC work on wood about half of the time so I thought it would be nice to have a high speed spindle. I decided to mount my...
Ever since I first saw a lithophane in a YouTube video I have thought they were really cool. I have made cylindrical lithophanes previously with my...
This is a collection of bottle openers that I made from 16D common nails. Some of them work better than others but I tried to incorporate a...
A couple of years ago Fran posted a really interesting video demonstrating friction welding. Fran used a cheap harbor freight rotary tool and...
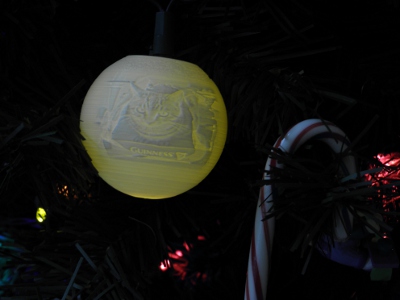
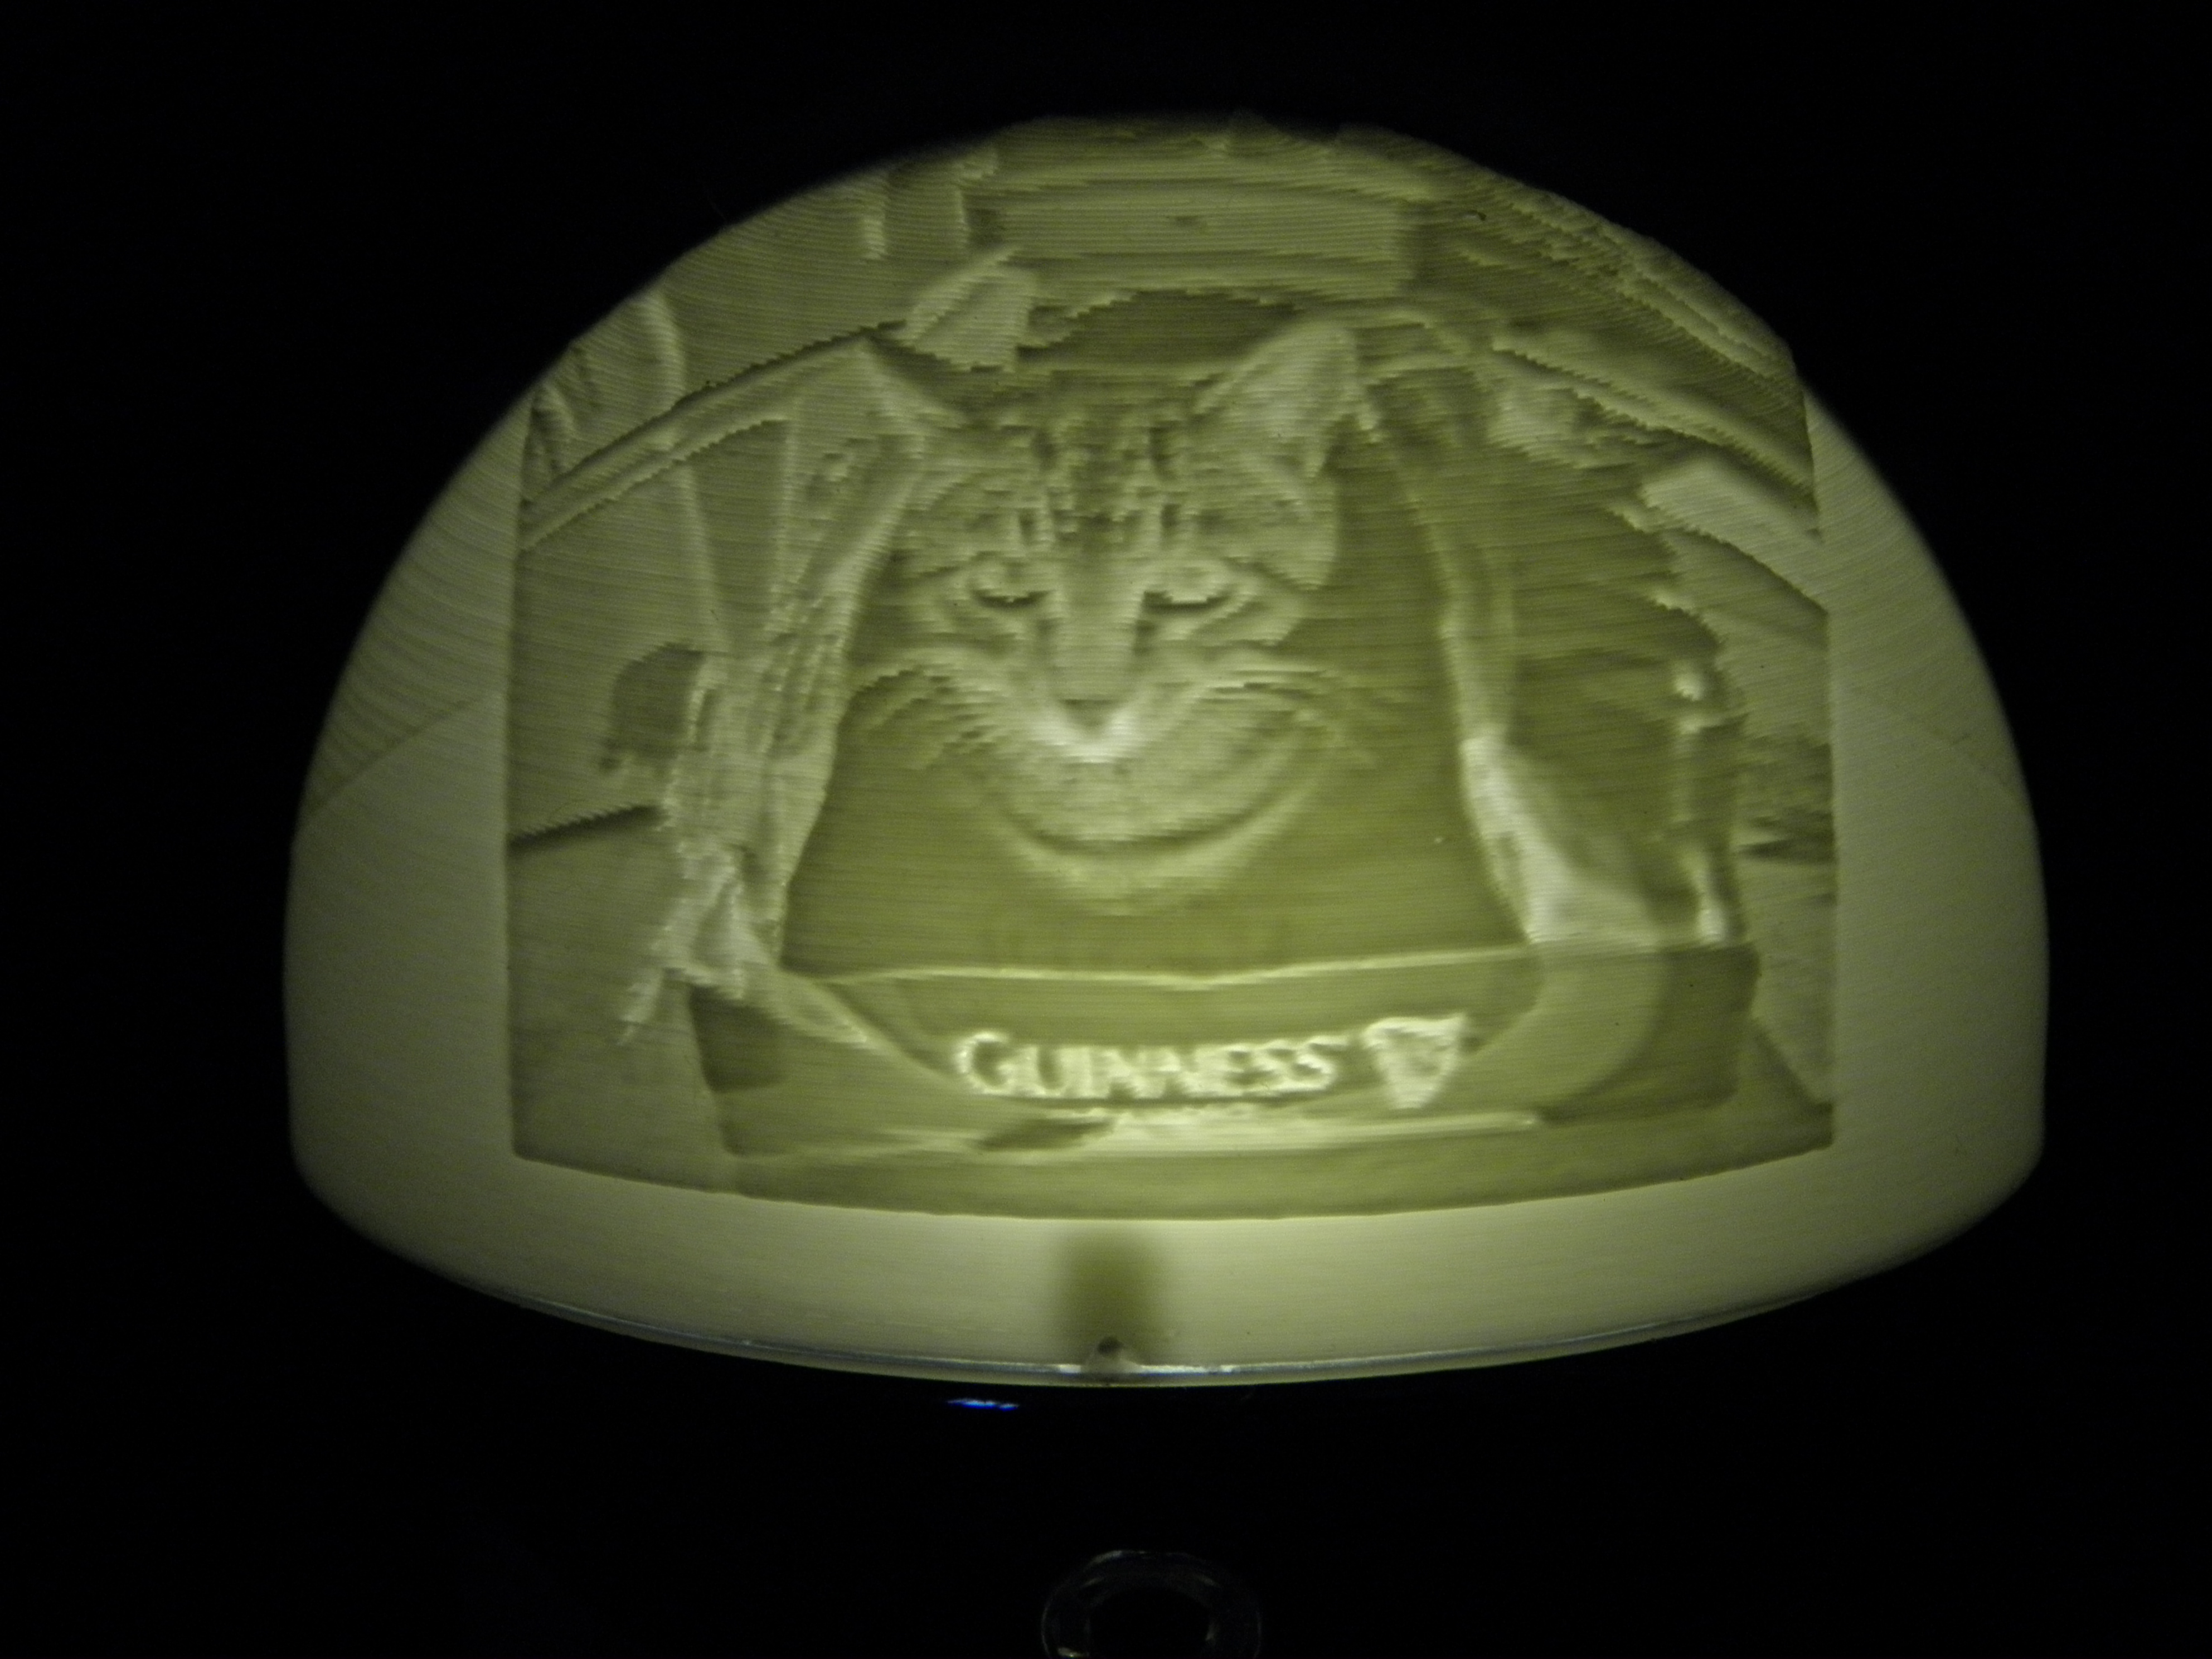
I have been playing with making spherical lithophanes with my new 3D printer (PrintrBot Simple Metal). I wrote some Java code to read the image...
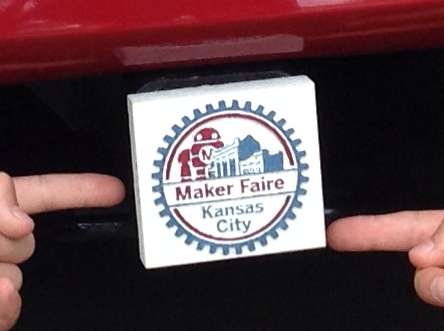
When my kids and I went to Maker Faire Kansas City we made a Maker Faire themed cover for the hitch receiver on our minivan. For Kansas City we...
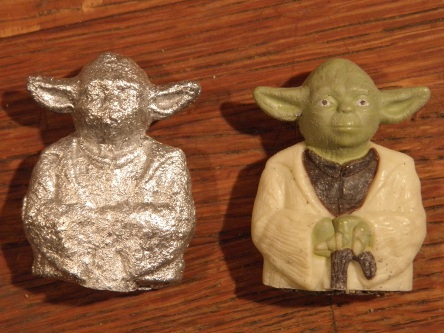
I have been sporadically experimenting with my electric micro foundry setup for almost a year. Recently I have been trying different...

I thought it would be interesting to see how well a simple hot glue gun with standard hot glue could produce injection molded parts. Although...
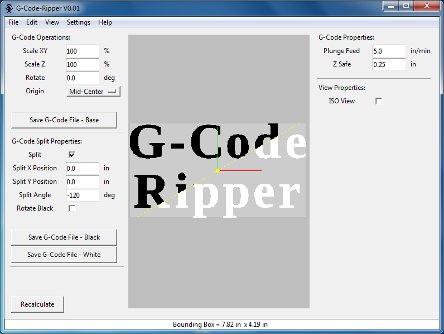
G-Code Ripper Version 0.05 is now available. The new version can export tool paths read from a g-code file to a DXF or CSV (Comma Separated...
I uploaded version 1.33 of F-Engrave, it is available on my web page. (F-Engrave 1.33) Changes in Version 1.33: - Added option for scaling...
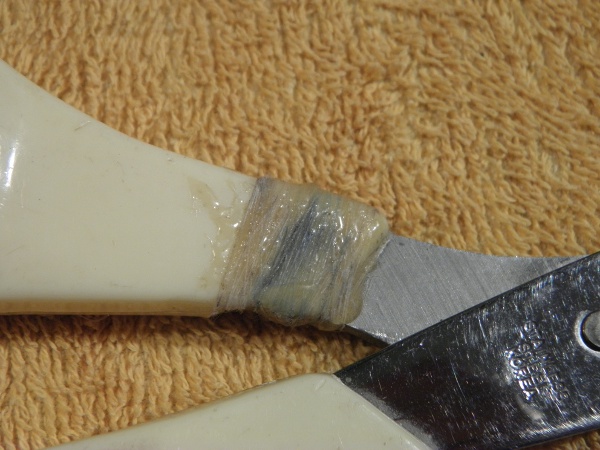
Sometimes a broken part was generally too weak to begin with or does not have much surface area for bonding. To achieve a good repair additional...
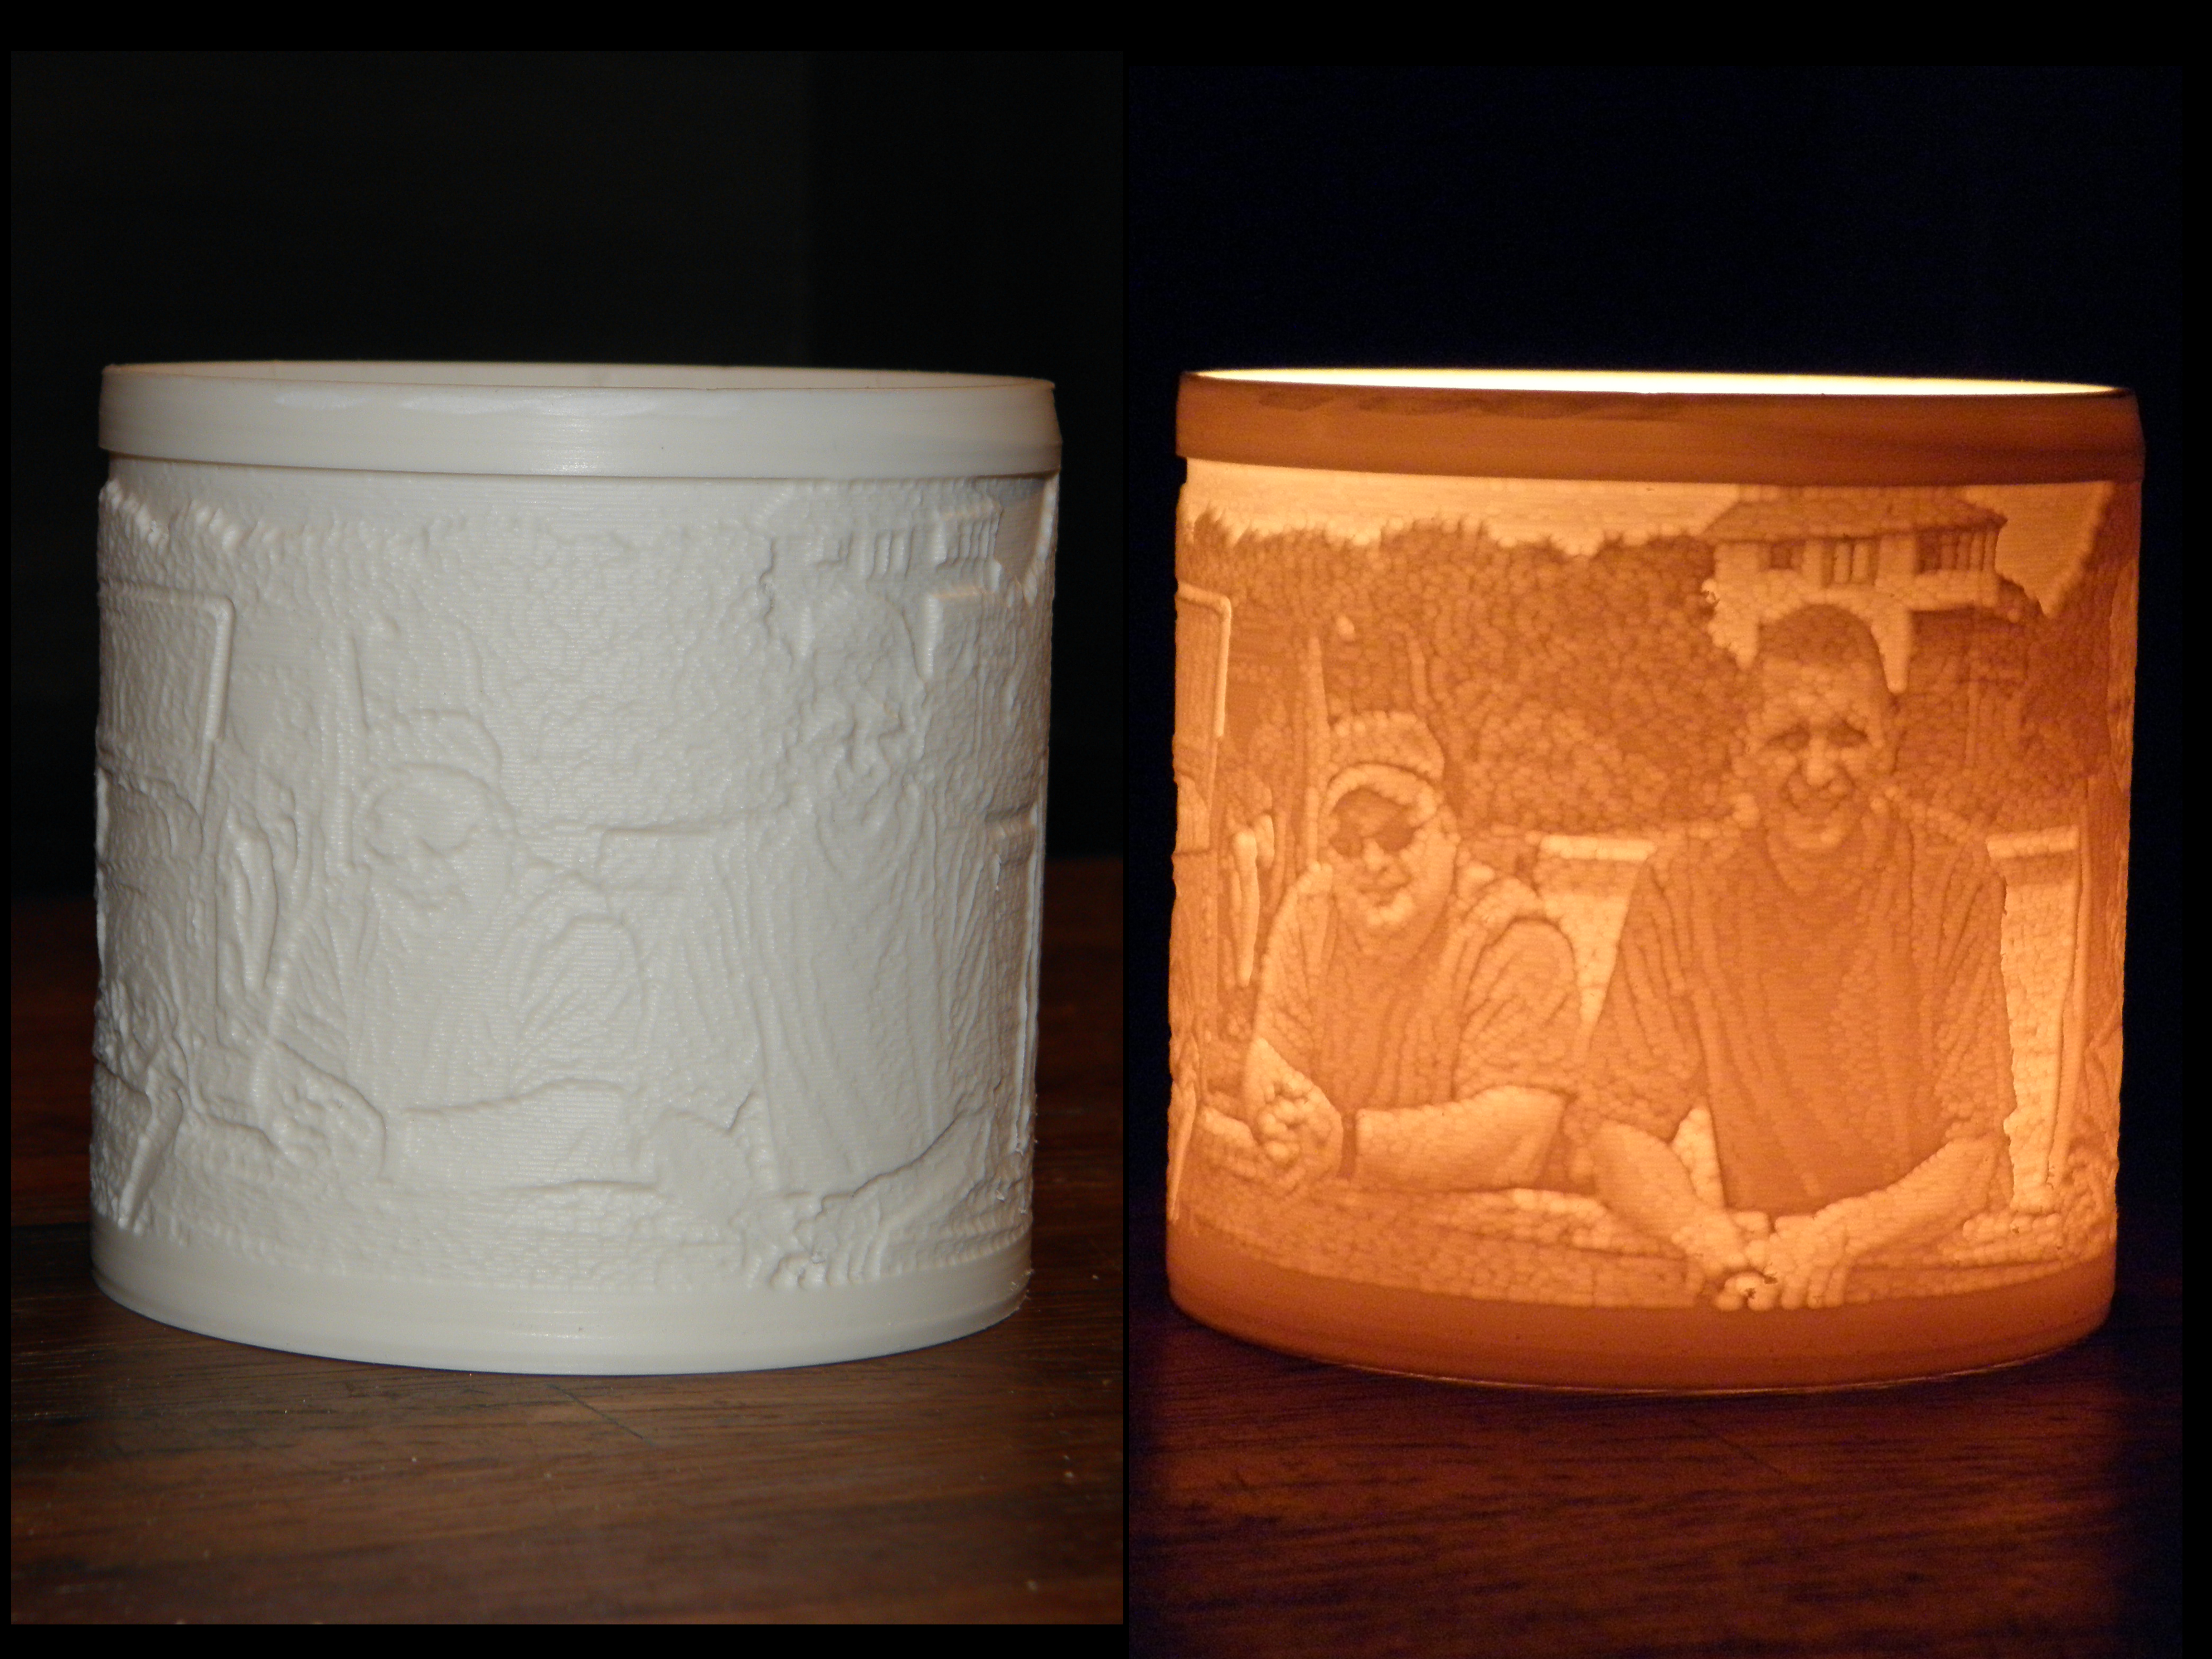
I saw a video of a cylindrical lithophane made from a PVC pipe a few years back (You tube Link). I had always wanted to replicate it. Not only...
F-Engrave now can determine which side of the loops in a DXF design need to be cut. Previously the input needed to be formatted so that the...
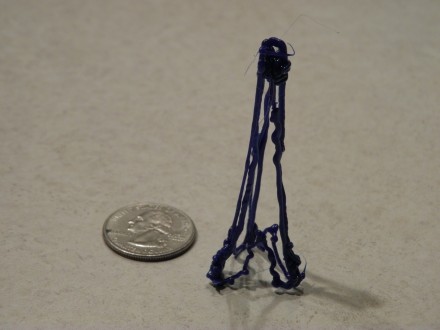
I had a chance to sit down for a couple of minutes with a 3Doodler. In just a minute or two I made the little tripod tower in the picture. It...

F-Engrave V1.22 is now available. This version fixed a few DXF import bugs and a v-carve cleanup bug. I also changed the lower limit on the...
I have been working on making a very small electric furnace for doing small aluminum castings. As part of testing an early iteration of the...
My plan is to post item here that are not complete enough (and may never be) to warrant a permanent place on my web page. I guess the first item is...