

Solar Wobbler Modification
Somewhere along the line the flower broke off of the solar wobbler that we had lying around the house. When it broke I shoved it in a drawer thinking that I would modify it into something new someday. I finally got around to pulling it back out of the drawer and fixing it up. Below I layout the steps that I took to modify the wobbler. More of the process can be seen in my Wobbler YouTube Video. The 3D model of the wobbler I 3D printed is available on Thingiverse (3D Wobbler).
Step 1: Break your solar wobbler (mission accomplished)
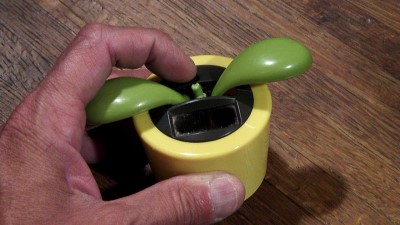
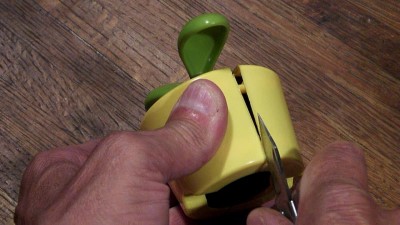
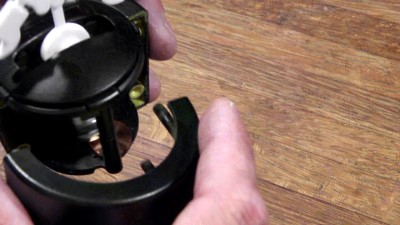
Step 2: Carefully separate the two halves of the base outer housing.
Step 3: Remove the outer housing parts.
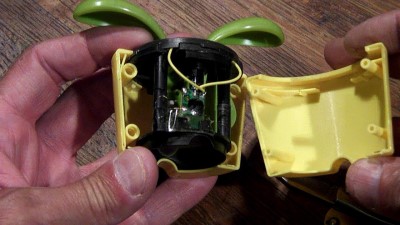
Step 4: Remove the leaf and flower components and remove the magnet
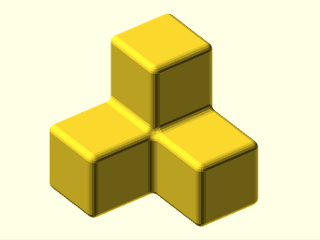
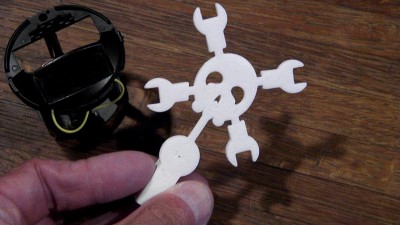
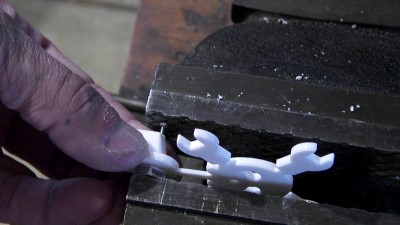
Step 5: Print a new wobbler part. Use one of mine or design your own. The OpenSCAD files for my wobbler design is available on Thingiverse so you can modify it to make your own design.
Step 6: If needed finish the hole in the bottom of the wobbler to the tap drill size for a 1/4-20 screw thread ( #7 drill bit is best but a 7/32 bit would also work).
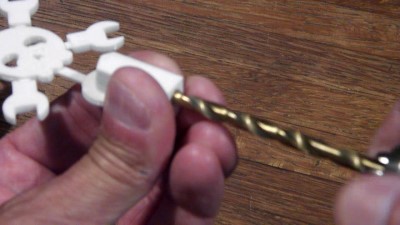
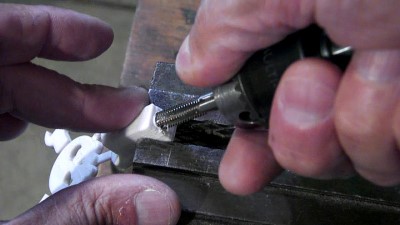
Step 7: Tap the hole in the bottom of the wobbler with a 1/4-20 tap.
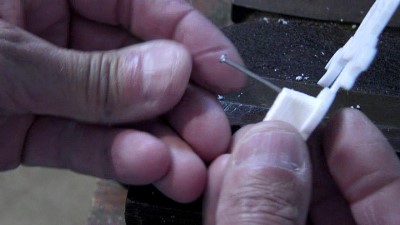
Step 8: Finish the hole for the shaft (a small nail). The finished size of the hole should be slightly smaller than the nail to produce a press fit.
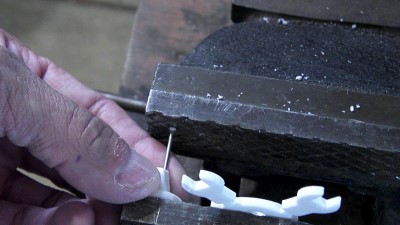
Step 9: Insert the nail in the finished hole
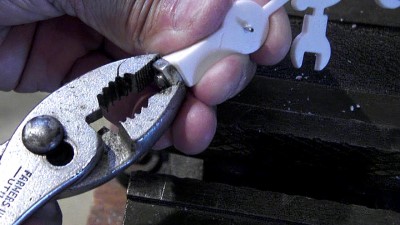
Step 10: Press the nail into the hole using a vice, arbor press or pounding into the hole.
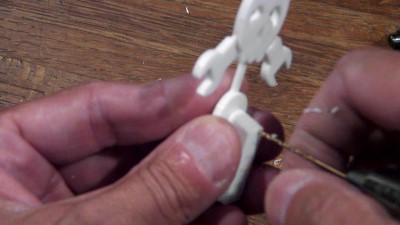
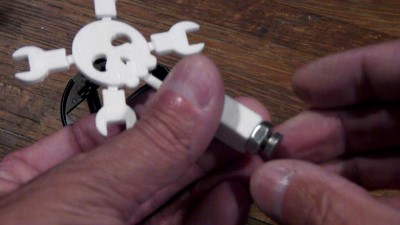
Step 11: Screw in a small piece of threaded rod into the hole in the bottom of the wobbler
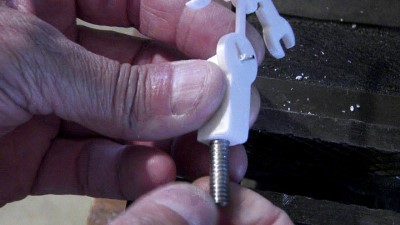
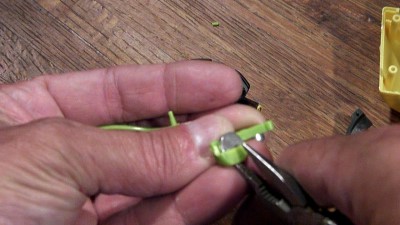
Step 12: Lock the threaded rod in place with a nut.
Step 13: Place the magnet on the bottom of the threaded rod.
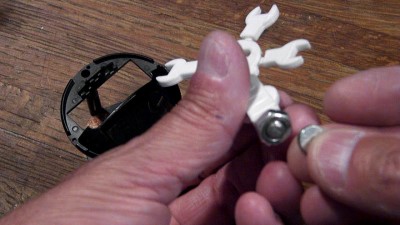
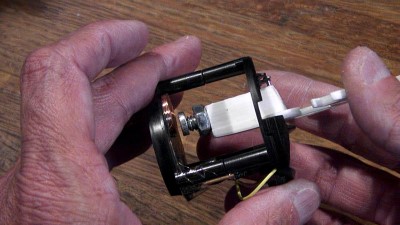
Step 14: Install the wobbler and check the clearance between the magnet and coil. You want the magnet to be close to the coil without any possibility of making contact. At this point it is a good idea to make sure everything is working properly. Set the wobble on a table in a strong light. If the wobble is not working well try flipping the magnet over. The wobbler will work better with one of the two magnet sides facing the coil because the coil is only energized in one direction not an alternating direction.
Step 15: Reassemble the wobbler. Before assembling mine I panted the housing black with Spray paint.
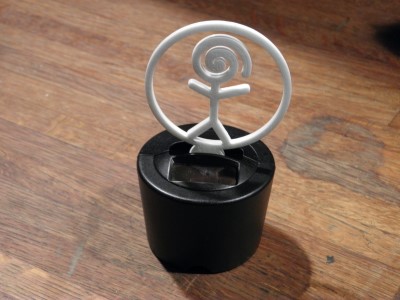
Step 16: Wobble….
My design is very simple and it works but I can only imagine that there are more creative people out there that can come up with far more elaborate designs for these cheap solar toys. Below is another version I made with my logo in place of the HackADay Jolly Wrencher.